Invite your team
How to add a colleague, give them a password and pick a role. Who sees what in ChatDeck, and how to change a role or remove someone.
You don't have to answer chats alone: add your colleagues and everyone signs in to ChatDeck under their own name. There's no limit on the number of agents.
The owner and admins can add people.
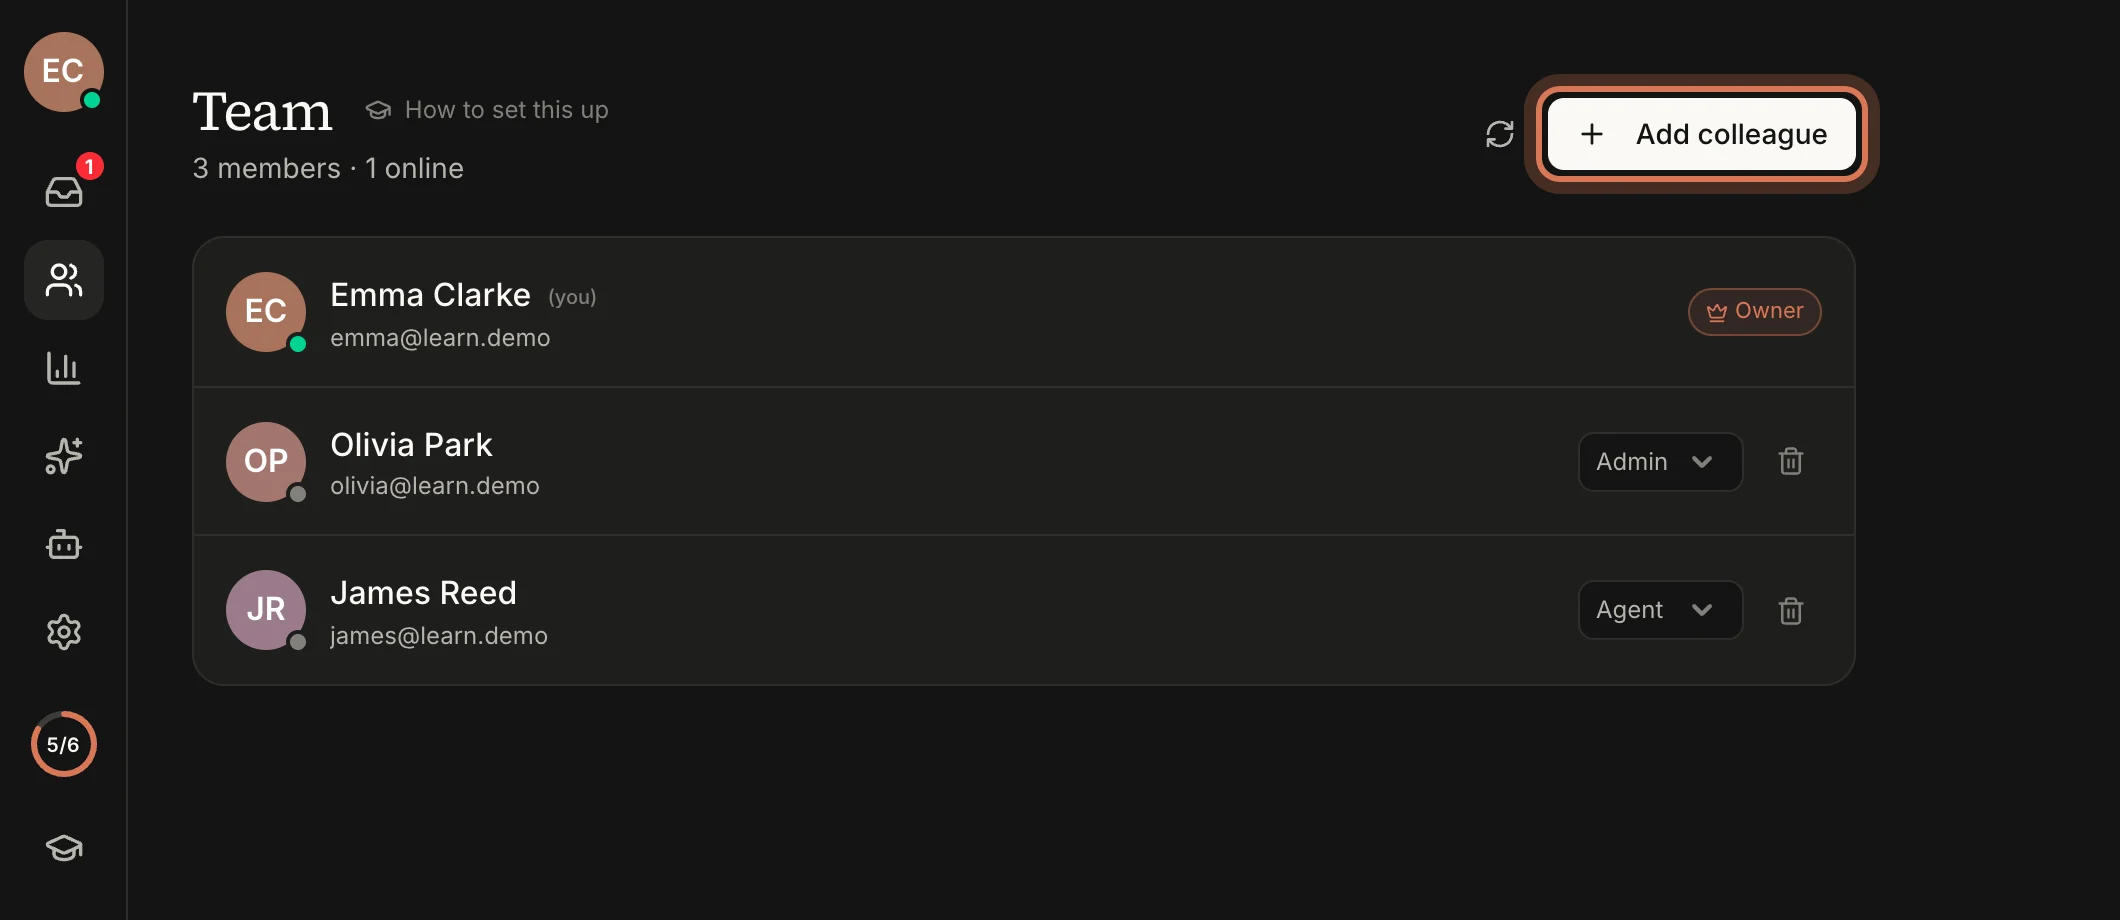
Step 1. Open the Team page
Click the Team icon in the left rail. You'll see everyone on the team, their roles and who's online right now. Click Add colleague in the top-right corner.
Step 2. Fill in the form
- Email — the address your colleague will sign in with.
- Name (optional) — how visitors and the team will see them. They can change it later in their profile.
- Password — at least 8 characters. The easiest way is to click Generate and let ChatDeck make a strong one.
- Role — Agent or Admin (Agent by default). The line under the buttons explains what the selected role can do.
- Click Add colleague at the bottom of the form.
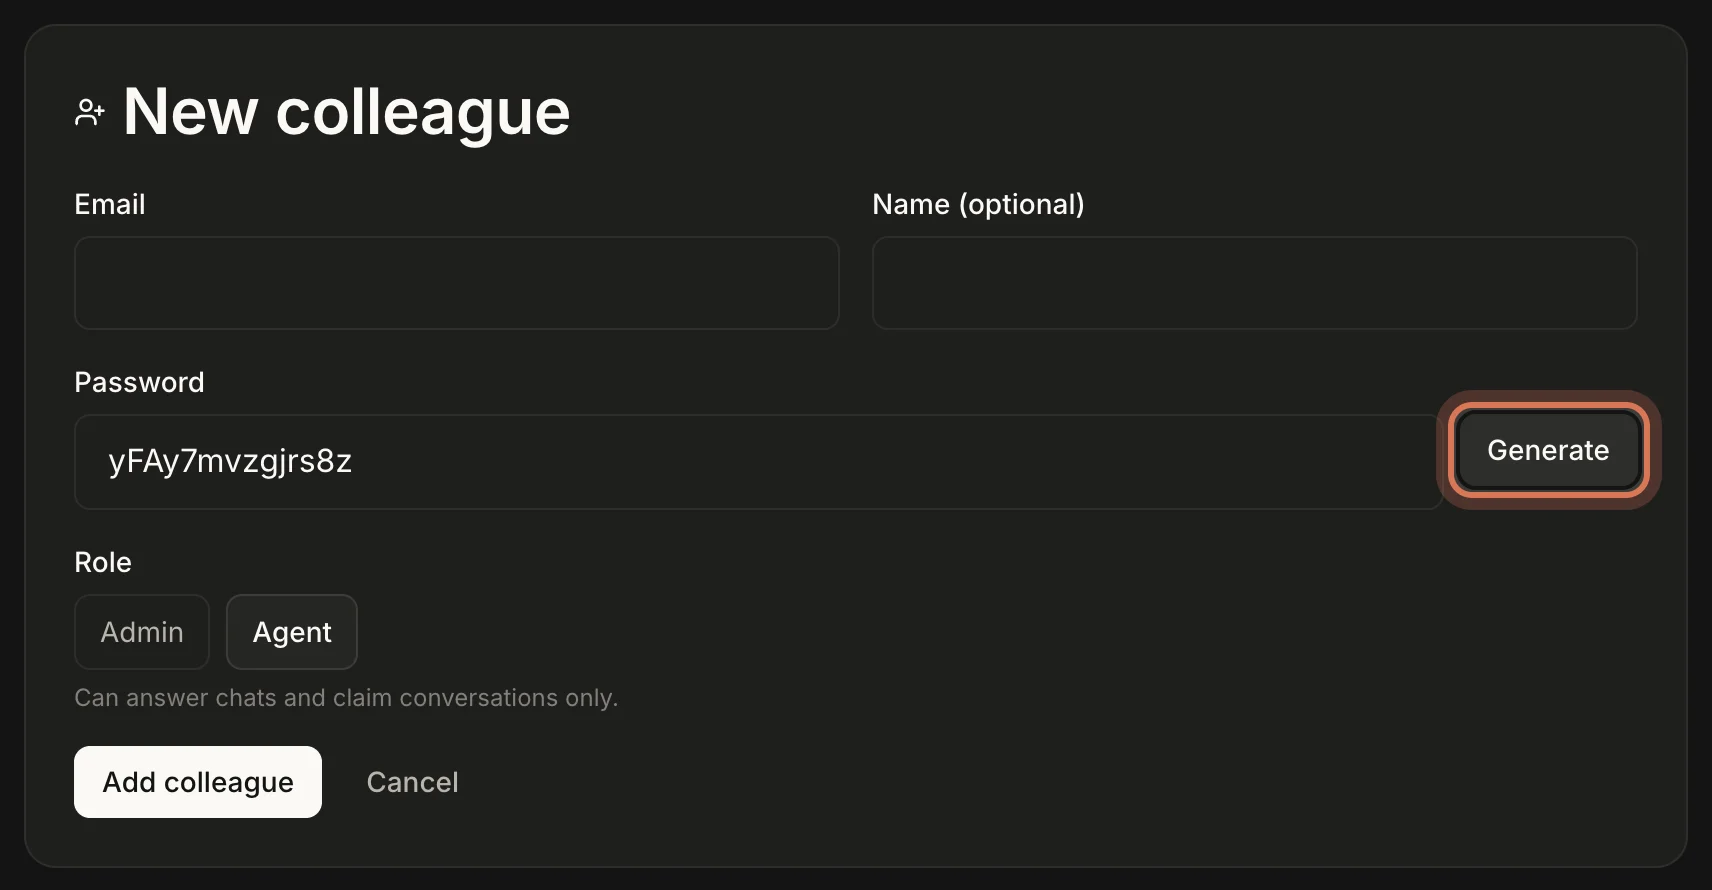
Only the owner gets the role picker. An admin always adds people as Agents.
Step 3. Hand over the sign-in details
ChatDeck doesn't send an invitation email. Once you add someone, a green "Colleague added" card shows their email and password. Click Copy and send the details to your colleague however you like — a chat app, or in person.
They sign in at /login (the "Sign in" button on the ChatDeck home page) and can start answering chats straight away. They can change the password themselves: their profile has a "Change password" button that emails them a link. They can also link Yandex ID or Apple there for one-click sign-in.
The password is shown only once — copy it while the card is on screen.
Who sees what: roles
- Agent — only the Inbox and their own profile. Answers visitors, picks up and resolves conversations.
- Admin — everything an agent can do, plus Team (add and remove agents), Assistant, Settings and Analytics.
- Owner — everything an admin can do, plus changing roles and managing admins and the plan. There's one owner per workspace — the person who created it.
Step 4. Change a role or remove someone
Next to each person in the team list:
- The role dropdown — the owner can switch someone between Agent and Admin. It applies immediately.
- The bin ("Remove from team") — removes the person. ChatDeck asks you to confirm. Their open chats go back to the shared queue.
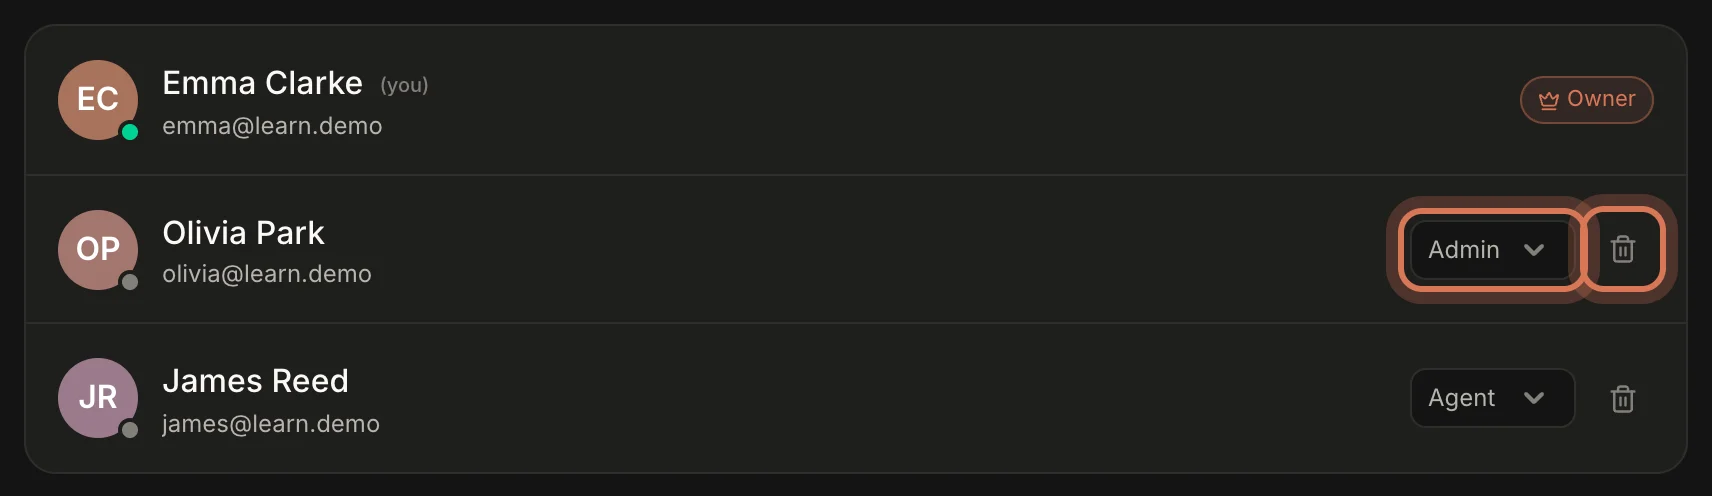
Once removed, that person can no longer sign in. Their messages and ratings stay in the history. If they come back, just add them again with the same email.
Admins can remove agents only; the owner can remove both agents and admins. You can't change your own row.
Next: working in the inbox.
Still have questions? Write to support@gptunnel.ru — we’ll help you get set up.