Connect the AI assistant
Switch on the bot that answers visitors first: where to get a GPTunneL key, how to check it and how to name your assistant.
The AI assistant is a bot that answers every new visitor first — day, night and weekends. It handles the simple questions itself and passes the tricky ones to your team. Setup takes five minutes; all you need is a GPTunneL key.
GPTunneL is a gateway to AI models (GPT, Claude, Gemini, DeepSeek, GigaChat and more) billed in roubles. ChatDeck's assistant runs through it, so you don't need separate OpenAI or Anthropic accounts.
Step 1. Get a GPTunneL key
- Sign up at gptunnel.ru and top up your balance — every bot answer is paid from it.
- Open your profile (gptunnel.ru/profile) and create an API key.
- Copy the whole key — you'll paste it in a moment.
What an answer costs depends on the model and how long your instruction is — usually from a fraction of a rouble to a couple of roubles per visitor message. See Choose a model.
Step 2. Turn the assistant on
In ChatDeck open Assistant in the left rail. At the top is the Enable the assistant card with a switch. Click it.

If there's no key yet, the Connect the assistant window opens instead — the bot won't switch on until it can actually answer.
Step 3. Paste and check the key
The window has three steps:
- Open GPTunneL profile — takes you to where keys are created (skip it if you did step 1).
- Paste the key into the Paste your key field.
- Click Check the key.
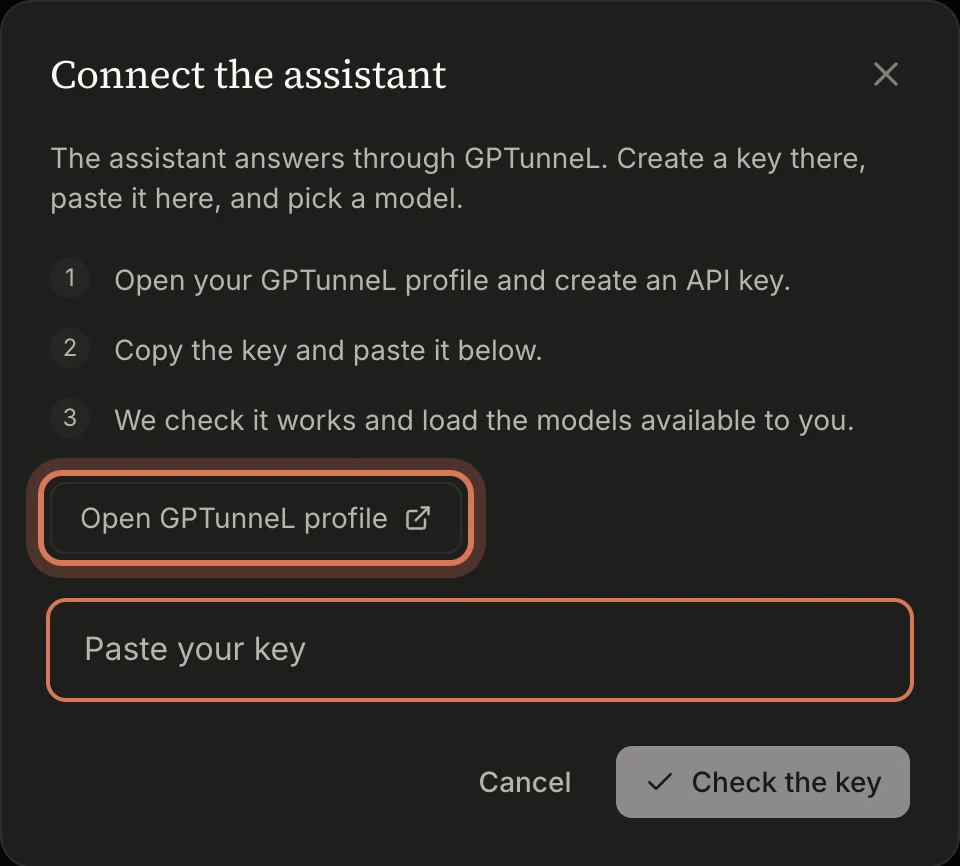
ChatDeck checks the key and loads the models it unlocks. If it works, the key is saved, the assistant switches on and the default model — GPT 6.1 Sol — is picked for you.
If you see an error:
- "This key was rejected" — the key was cut off when copying, or deleted in GPTunneL. Copy it again.
- "Could not reach the provider" — a temporary network issue; try again in a minute.
Once connected, the Model and key card shows Key connected. To switch keys, click Replace key: the new key is checked first, and the bot keeps using the old one until then.
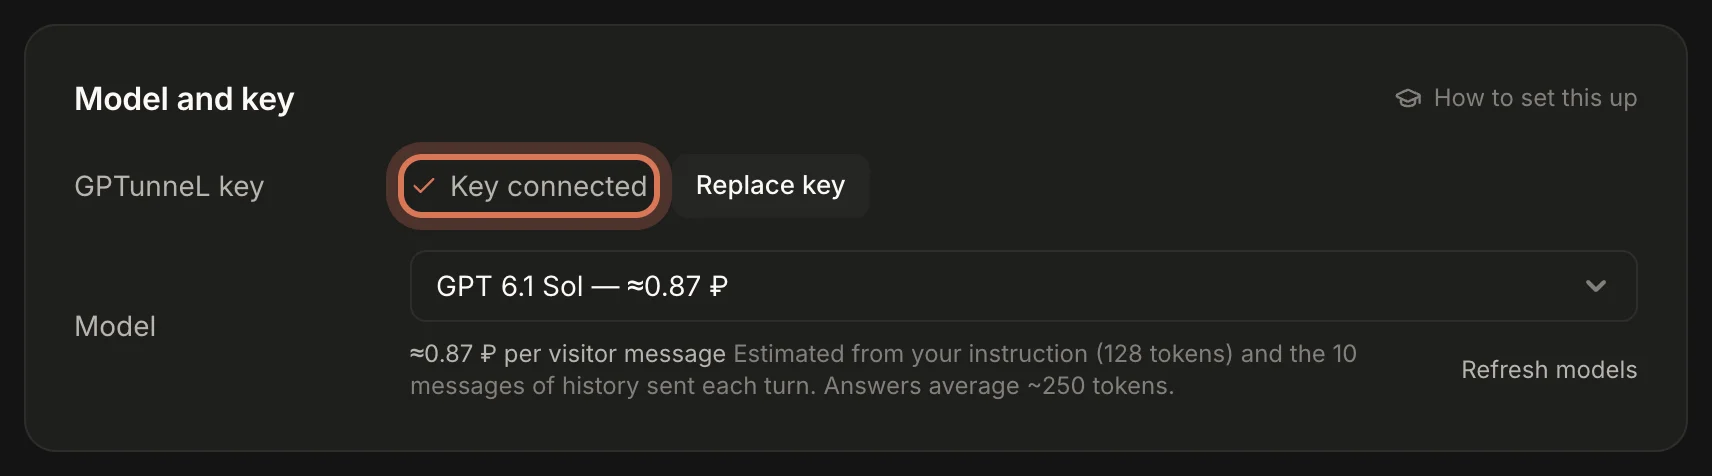
If your GPTunneL balance runs out or the key stops working, the bot can't answer — and ChatDeck hands that chat to your team automatically. Nobody is left hanging, but keep the balance topped up.
Step 4. Give the assistant a name and avatar
In the Name and avatar card:
- Click Upload avatar and pick an image — you can crop it before saving. A logo or an illustration works best; avoid a real person's photo so visitors don't mistake the bot for a staff member.
- In Display name, type how the bot introduces itself: "Lily", "Shop assistant", "Bloom & Co helper".
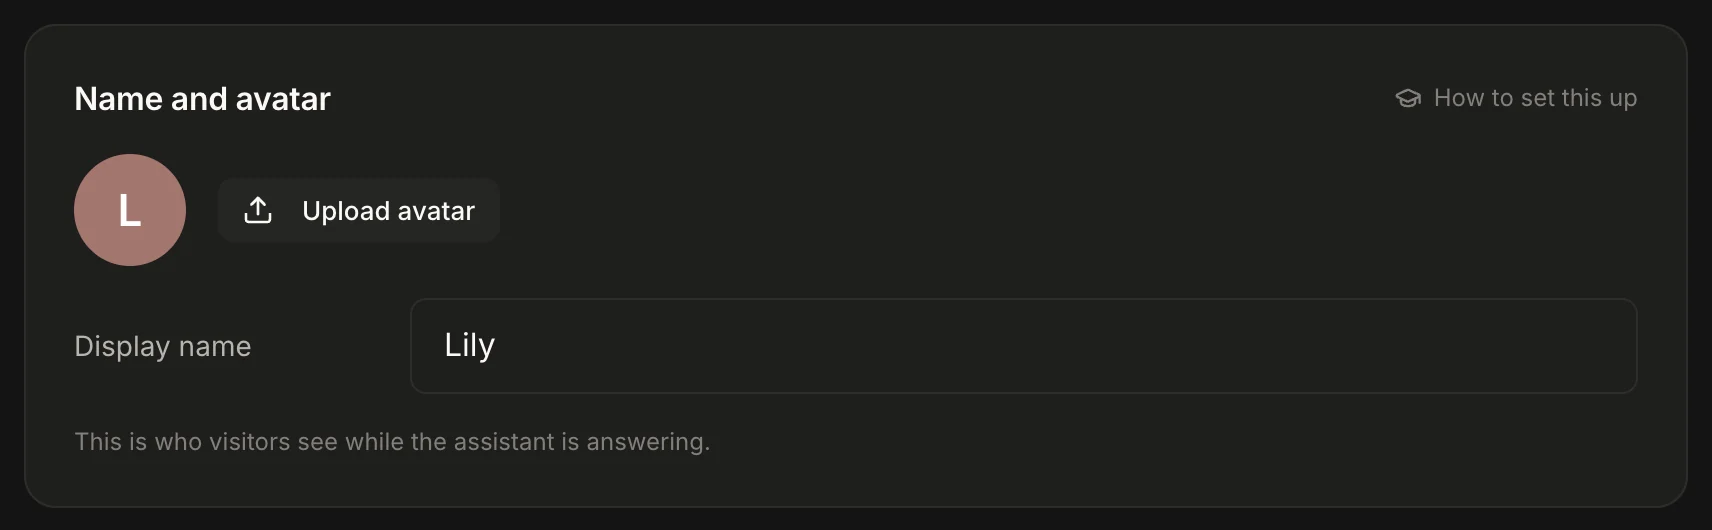
Everything saves automatically — "Saved" appears in the top-right corner.
Use the same name in the instruction ("You are Lily, the assistant of…"), or the bot may introduce itself differently.
Step 5. Try it on your site
Open your site (ideally in a private window, like a real visitor) and click the chat button. The header shows the assistant's name and avatar.
Ask a question — the bot replies within a couple of seconds. In the Inbox the chat appears under Open, and the bot's messages carry a robot icon and the Assistant label.
What changes when the assistant is on
- Every new chat starts with the bot. It calls your team only when it can't help or the visitor asks for a person — then everyone gets a "bot handed off" notification.
- While the bot is handling a chat, your team isn't pinged for every message.
- As soon as an operator replies or clicks Assign to me, the bot goes quiet in that conversation.
- Switch it off and every new chat goes straight to the operator queue. The bot's settings are kept — switch it back on and everything returns.
FAQ
Do I need a developer? No. It's all done on this page; nothing changes on your site.
Does the bot see my website? Not its content. ChatDeck automatically tells the bot only the address of the page the visitor is on and their local date and time. Everything else — products, prices, terms — it knows only from the instruction and the latest messages of the conversation. That's why the next step — a good instruction — matters so much.
Next: choose a model, then write the instruction.
Still have questions? Write to support@gptunnel.ru — we’ll help you get set up.